


Time-based One-Time Password Authentication in Flask
One of the most effective ways to reduce identity theft of online accounts is to enable two-factor authentication (2FA) on an account. It adds a layer of security to the authentication process by making it harder for attackers to gain access to a person's devices or online accounts because, even if the victim's password is hacked, a password alone is not enough to pass the authentication check. Below, you can choose what method you want to use to authenticate an account.
- Time-based two-factor authentication (this article)
- SMS two-factor authentication
- Push two-factor authentication
Overview
Many applications allow their users to optionally enable two-factor authentication (2FA) on their accounts. They sign up and once logged in, they are free to enable or disable 2FA at any time. However, there may be some cases where it is necessary to make 2FA mandatory. For example, in the banking industry, if a user's account is used to send money to another user, it is necessary to make sure that the user has access to a time-based one-time token before they can send money.
One-time passwords are used to generate a one-time token that is used to authenticate a user in a single login session. The tokens are generated by an authenticator app whose algorithm compares the resulting token to a known token. The algorithm is called Time-based One-time Password (TOTP) Algorithm. Most TOTP are proprietary and are not available for public use, but some are.
Project Requirements
- A smartphone
- Access to Google Playstore or App Store
What We Will Do
- Install an authenticator app of choice
- Create a simple password-based flask application
- Integrate TOTP into the application
The completed project is publicly available and application files are on GitHub. You can refer to the repo as you build your own. If you would like to test the live application, here is the link.
Install an authenticator app of choice
Search for either of these two TOTP apps to begin:
You are not limited to these two. You can use any other if you like. Why these apps? We will need them to scan the application's QR Code when we try to register a new user. The apps will consistently generate 30-second long one-time passwords for us.
Create a simple password-based flask application
The focus of this tutorial is how to integrate a time-based one-time password into a flask application. The assumption here is that you already have one or more flask applications that you want to use to authenticate users. I will not go into the details of how to create a flask application. If you don't have one already, consider including:
- User registration and login mechanisms
- You will need both registration and login webforms
- You will need a database to store a user's information
- You will need to authenticate users using a password
- You will need a way to handle user sessions
To make the project a bit more complete, I have added features such as password resets and email verification, though they have nothing to do with time-based one-time passwords.
General Rules About Passwords
- Never store a password in the database; rather, store its hash
- Always use secure
HTTPto transmit passwords - Compare a user's password against its hash in the database when authenticating a user
Integrate TOTP into the application
As mentioned earlier, this application will have two-factor authentication mandatory. A simple workflow of creating a new user, logging in, and then enabling two-factor authentication is described below.
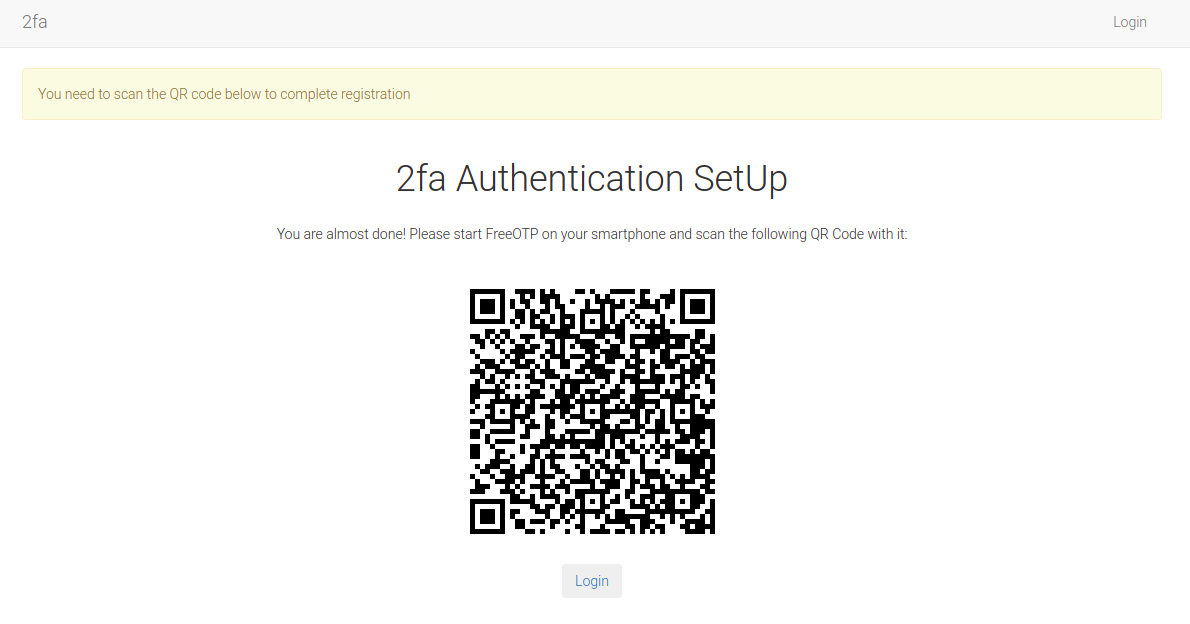
A user registers for an account. The user is then prompted to scan the QR code generated by the application using an authenticator app. A new token form is shown after scanning the QR code where the user needs to key in the token seen in their authenticator app. If successful, the user is logged in.
Integration table of contents
Several packages implement TOTP algorithms. A simple search on pypi will reveal them. In this tutorial, I will use onetimepass because it is the most popular.
Update the User model
A basic User model contains only the password_hash field to store a user's password. The application will need us to add another field called totp_secret to store the user's TOTP secret. Every time a user logs into their account, they will need to key in the token seen in the authenticator app. This token will be saved in the totp_secret field.
app/routes.py: Add totp field
import os
import base64
import onetimepass as otp
# ...

class User(UserMixin, db.Model):
    # ...
    totp_secret = db.String(length=16)

    def __init__(self, **kwargs):
        super(User, self).__init__(**kwargs)
        if self.totp_secret is None:
            self.otp_secret = base64.b32encode(os.urandom(10)).decode('utf-8')

    def get_totp_uri(self):
        return f'otpauth://totp/TOTPDemo:{self.username}?secret={self.totp_secret}&issuer=TOTPDemo'

    def verify_totp(self, token):
        return otp.valid_totp(token, self.totp_secret)
The otp_secret is encoded as a base32 string, which makes it a printable string with 16 characters. It will be added to the database if it is not already there.
The get_totp_uri() function returns an authentication URI whose secret token is shared with the smartphone. The URI is rendered as a QRCode which a user will need to scan with his phone. This is what that URI looks like:
otpauth://<protocol>/<service-name>:<user-account>?secret=<shared-secret>&issuer=<service-name>
<protocol>: can betotp<service-name>: is the name of the service or application that a user is authenticating to<user-account>: anything that identifies the user account. It can be the user's id, username, or email address<shared-secret>: the code used to seed the token generator algorithm<issuer>: normally set to the service name
The verify_totp() function takes a token as input and validates using the support provided by the onetimepass package.
Since we have updated the database schema, we need to generate a new migration script and apply the changes. Run the commands below in their order:
(venv)$ flask db migrate -m 'add totp field'
(venv)$ flask db upgrade
Display a QR code for the user to scan
When a user registers for an account, we will redirect them to a page where they can scan the QR code generated by the application. The user's username will be stored in a flask session so that the QR page knows what user is registering.
app/routes.py: Redirect the user to the QR page
@app.route('/register', methods=['GET', 'POST'])
def register():
    if request.method == 'POST':
        username = form.username.data
        user.set_password(form.password.data)
        db.session.add(user)
        db.session.commit()
        flash('You are now registered.')
        session['username'] = username
        return redirect(url_for('qr'))
    return render_template('register.html')
With the user now known, we can display the QR code page.
app/routes.py: Display QR Code page
@app.route('/qr')
def qr():
    if 'username' not in session:
        return redirect(url_for('register'))
    username = session['username']
    user = User.query.filter_by(username=username).first()
    if user is None:
        return redirect(url_for('register'))
    return render_template('qr.html'), 200, {
        'Cache-Control': 'no-cache, no-store, must-revalidate',
        'Pragma': 'no-cache',
        'Expires': '0'}
The view function makes certain that the QR Code is not cached by the browser. qr.html is used to display the QR Code as an image.
app/templates/qr.html: Display QR Code
{% extends 'base.html' %}

{% block app_content %}
<div class="row">
    <div class="col-md-4">
        <h1>Scan the QR Code Below</h1>
        <p>
            <img id="qr-code" src="{{ url_for('qr_code') }}" alt="QR Code" />
        </p>
        <p>
            Once scanned, you can <a class="btn" href="{{ url_for('login') }}">Login</a>
        </p>
    </div>
</div>
{% endblock %}
The QR Code image is sourced from the view function qr_code. Each time a user registers, the QR code will be unique to him.
app/routes.py: Generate QR code
from flask import abort
from io import BytesIO
import pyqrcode


@app.route('/qr_code')
def qr_code():
    if 'username' not in session:
        return redirect(url_for('register'))
    username = session['username']
    user = User.query.filter_by(username=username).first()
    if user is None:
        abort(404)

    del session['username']

    url = pyqrcode.create(user.get_totp_uri())
    stream = BytesIO()
    url.svg(stream, scale=5)
    return stream.getvalue(), 200, {
        'Content-Type': 'image/svg+xml',
        'Cache-Control': 'no-cache, no-store, must-revalidate',
        'Pragma': 'no-cache',
        'Expires': '0'}
If a user is not found registered, the application will tell the browser that the QR code image was not found or does not exist. On the other hand, if the user is registered, we begin by removing the username from the session. This is done so that the QR code is not displayed to the user again. The user's account will no longer be accessible.
The URL generates the data that most TOTP apps expect. pyqrcode functions are invoked to generate the QR code as an SVG image. The data is saved in memory as a buffer, and the buffer is returned as the response whose content type is set to image/svg+xml.
Log the user in
In the login form, we would like to not only provide the username and password fields, but we will also include a new token field. This token field will be used to validate the user's credentials.
forms.py: Token field in the Login page
class LoginForm(FlaskForm):
    username = StringField('Username', validators=[DataRequired()])
    password = PasswordField('Password', validators=[DataRequired()])
    token = StringField('Token', validators=[DataRequired()])
    remember_me = BooleanField('Remember Me')
    submit = SubmitField('Login')
The rendering of the login page will have an additional check for tokens.
routes.py: Token authentication
@app.route('/login', methods=['GET', 'POST'])
def login():
    # ...
    form = LoginForm()
    if form.validate_on_submit():
        user = User.query.filter_by(username=form.username.data).first()
        if user is None or not user.check_password(form.password.data) or \
                not user.verify_totp(form.token.data):
            flash('You have entered an invalid username, password or token.')
            return redirect(url_for('login'))

        # log user in
        # ...
    return render_template('login.html', form=form)
The login attempt is set to fail in three possible scenarios:
- The user is not found in the database
- The user's password is incorrect
- The user's token is incorrect
That's it! Mandatory two-factor authentication is now complete.
Share
If you enjoyed this article, you can share it with another person.
TweetNewsletter Subcription
Level up your skills.
We take your privacy seriously. Read our privacy policy. Unsubscribe | Resubscribe.