


Create A SendGrid Account
To configure an email verification solution, you have to connect your Twilio and SendGrid accounts. Click here to create a free account, which allows you to send up to 100 emails per day.
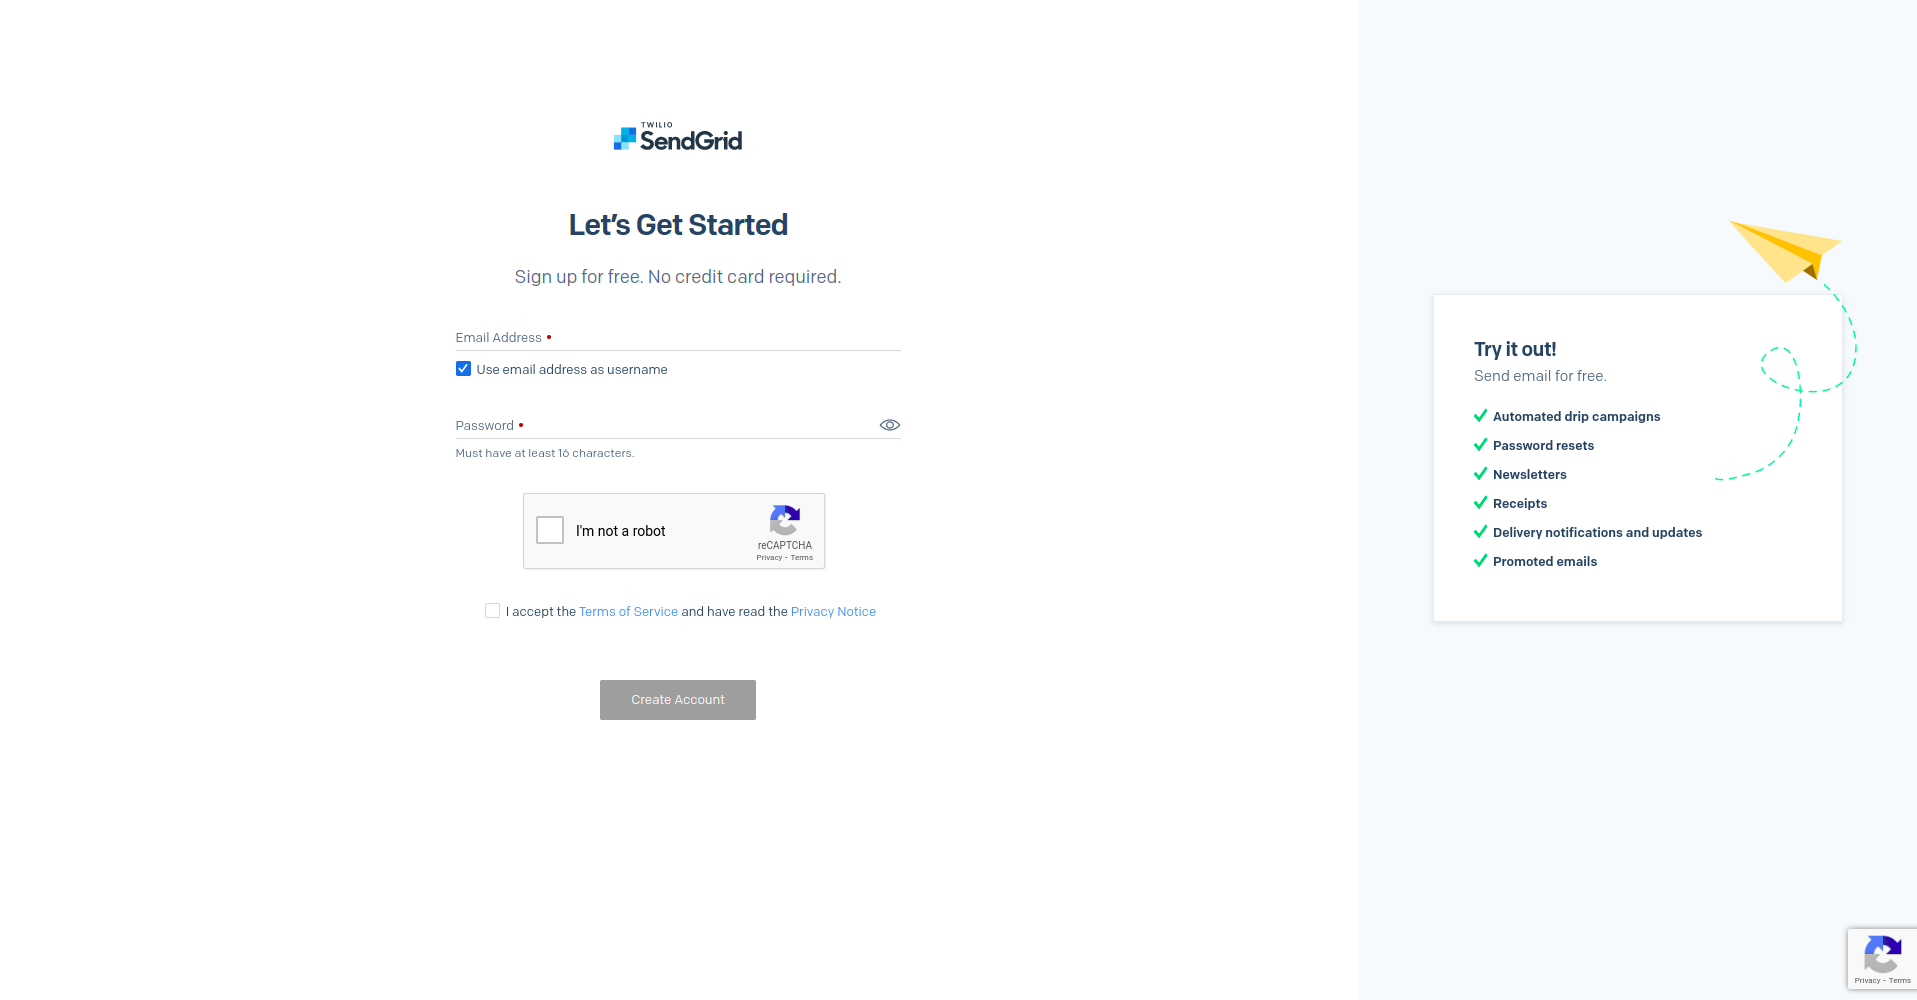
Notice that you can use your email address as your username. Alternatively, you can uncheck the box "User email address as username" to provide your own username.
In the event you fail to use the account for some time and it becomes inactive, you will not be able to utilize the service. You will need to create another account.
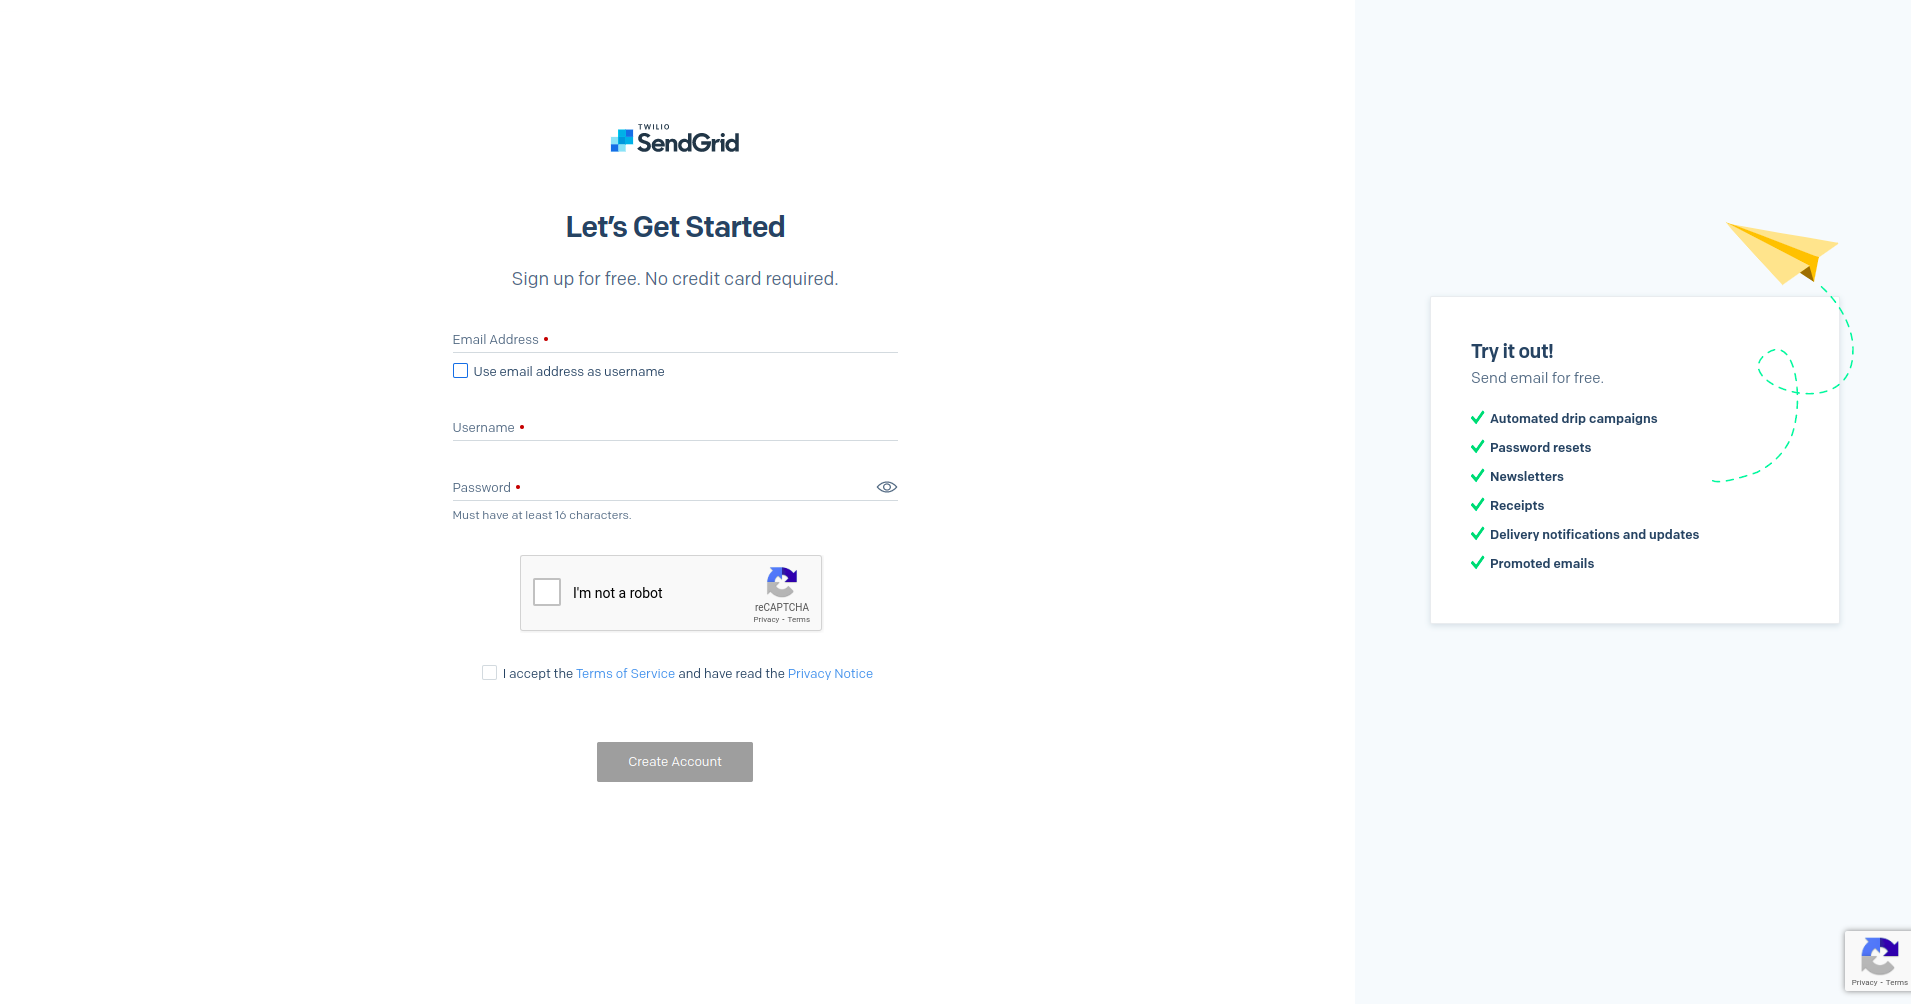
- If you created your first account using your email address as your username (name@email.com), then a new account can be created by providing a new username (name).
- Uncheck the box "User email address as username"
- You can use the same email address (name@email.com) when creating this new account.
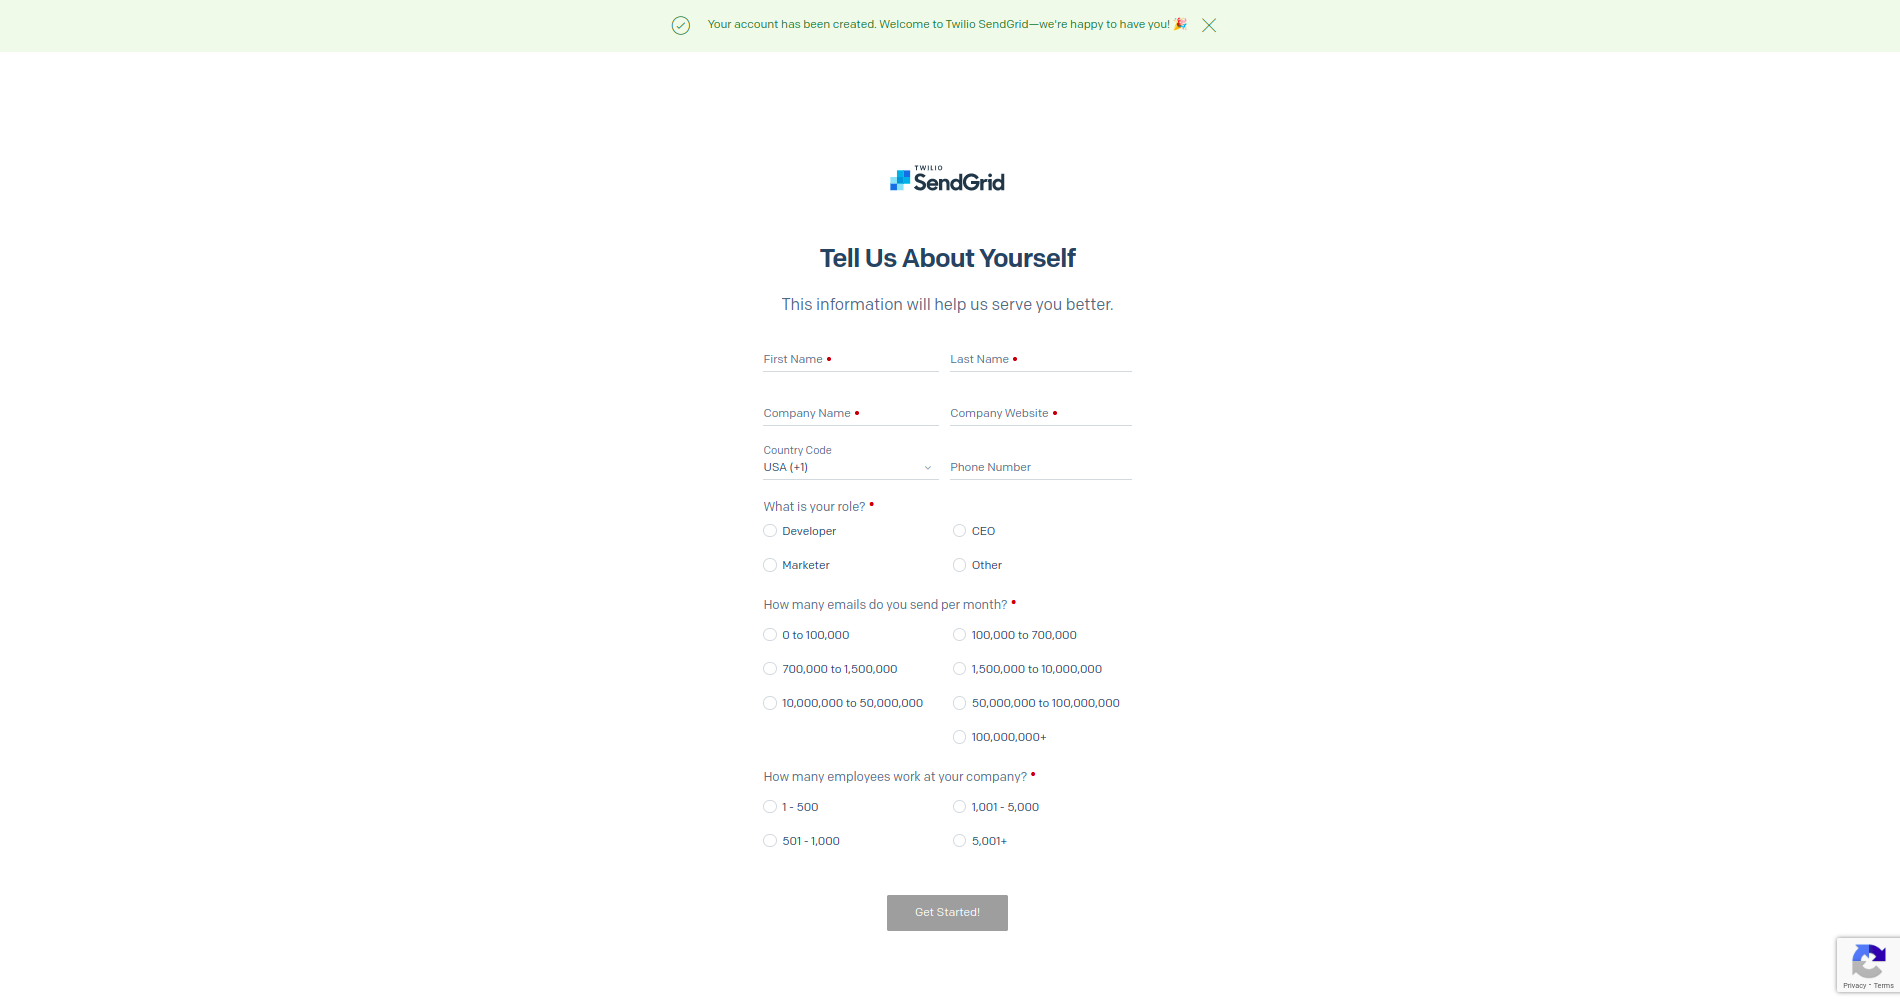
- You will be asked to provide more details about yourself
- Once the details are sent, you will be asked to provide further information by contacting the Support team.
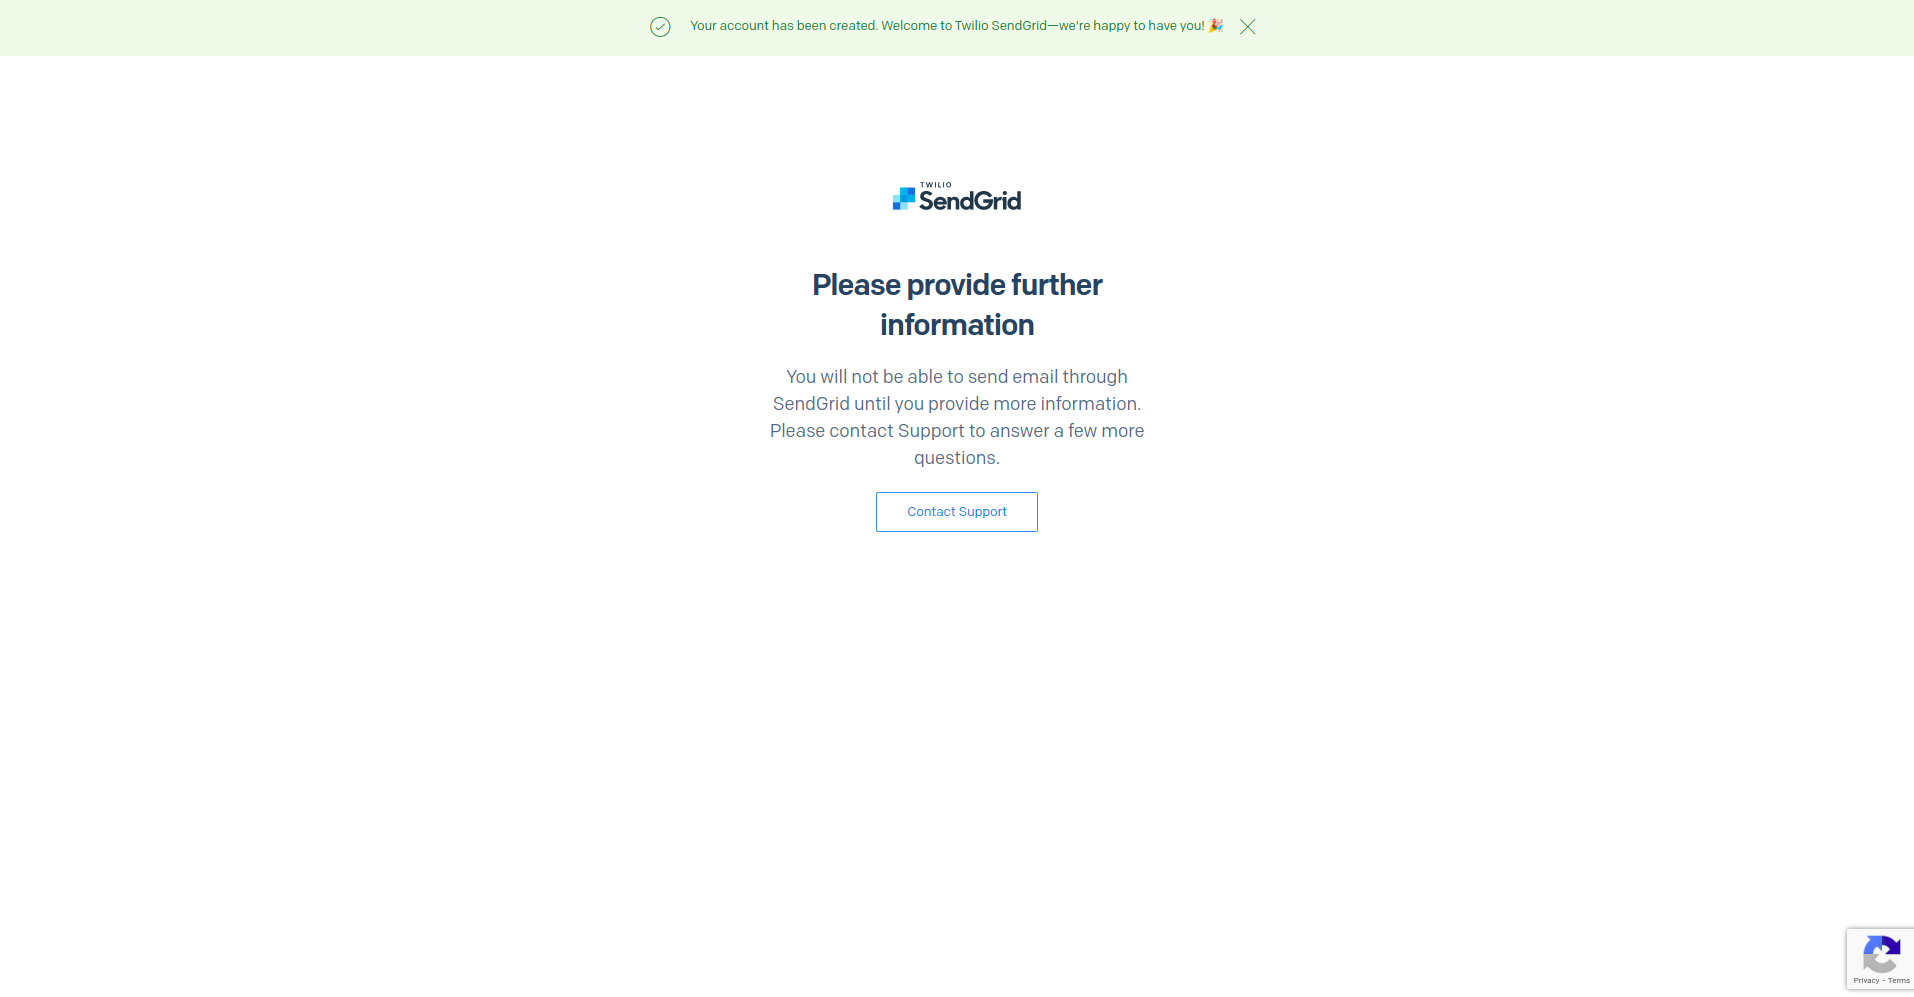
- They would want to know more about you and your intention for using the service.
Log In
Once approved, you can proceed to log into your new account. You may have to set up your account a little, so follow the flow of post-registration instructions such as setting up two-factor authentication.
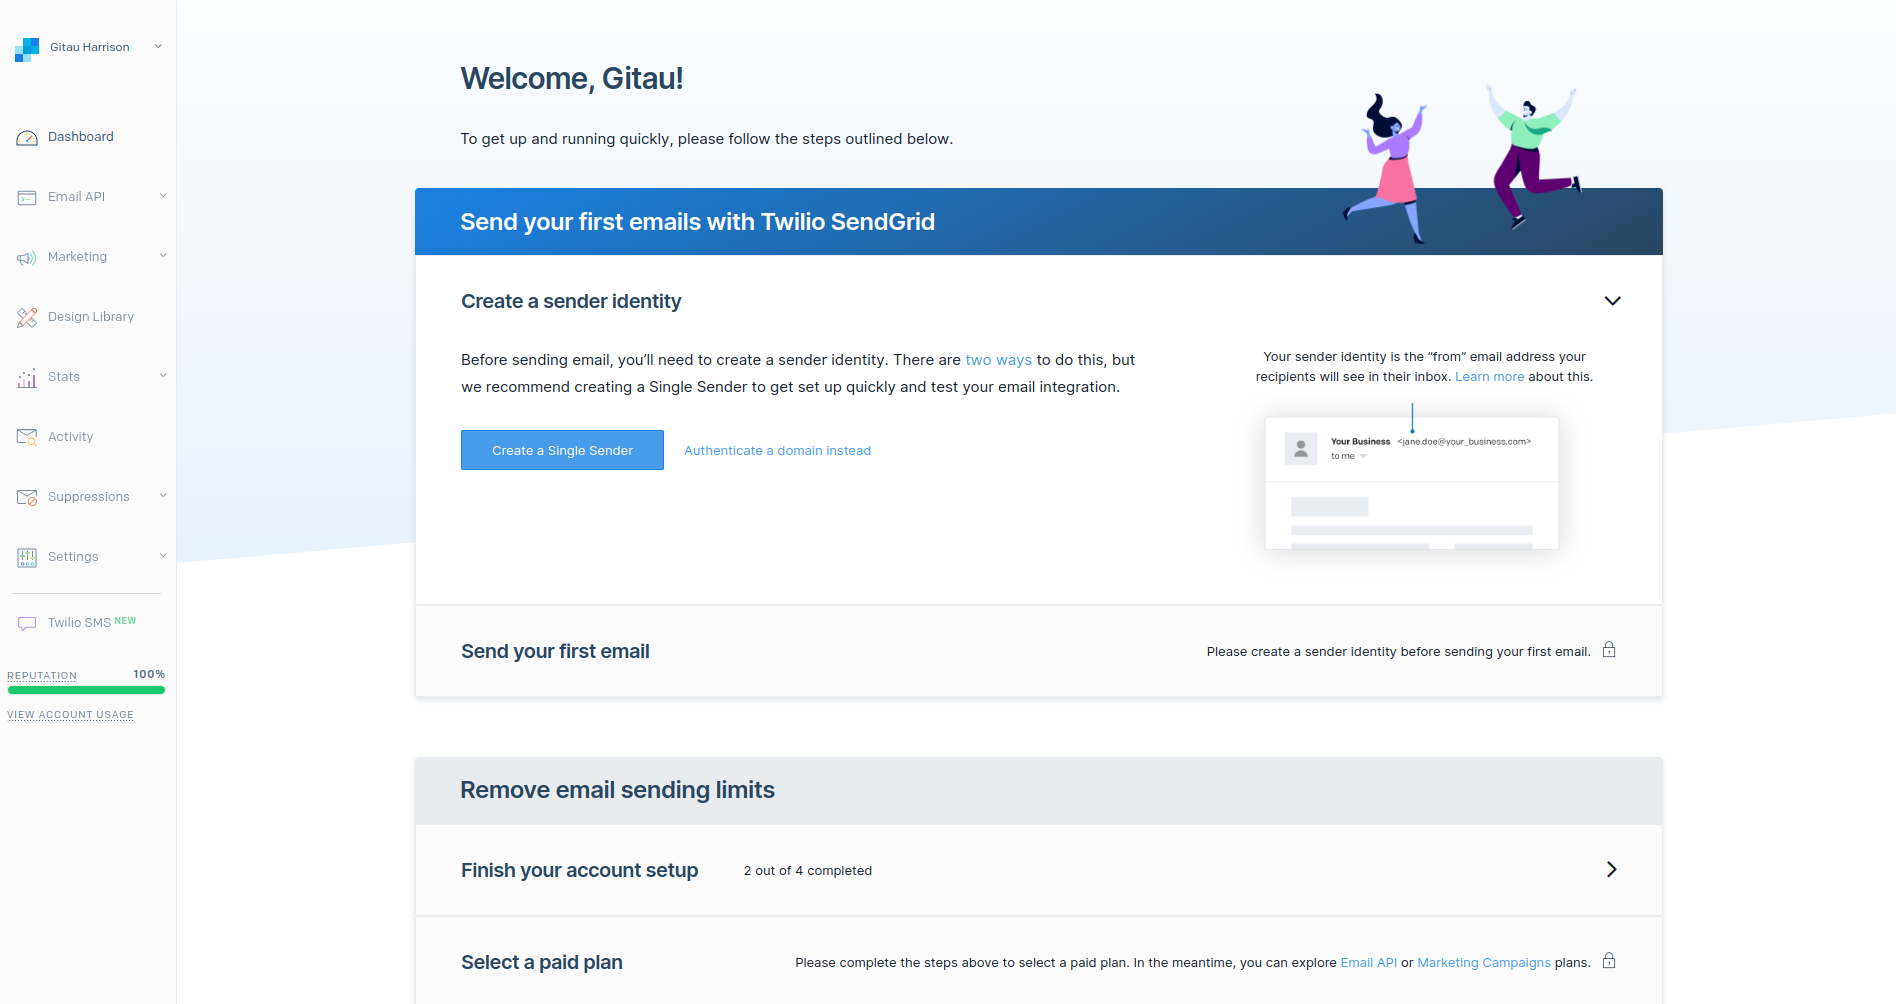
You will be asked to futher set up a few things to get started.
Create A Single Sender
The first thing to do is to create a Single Sender Identity. This is done by clicking the large blue button "Create a Single Sender" as seen below.
You will be required to include your contact information.
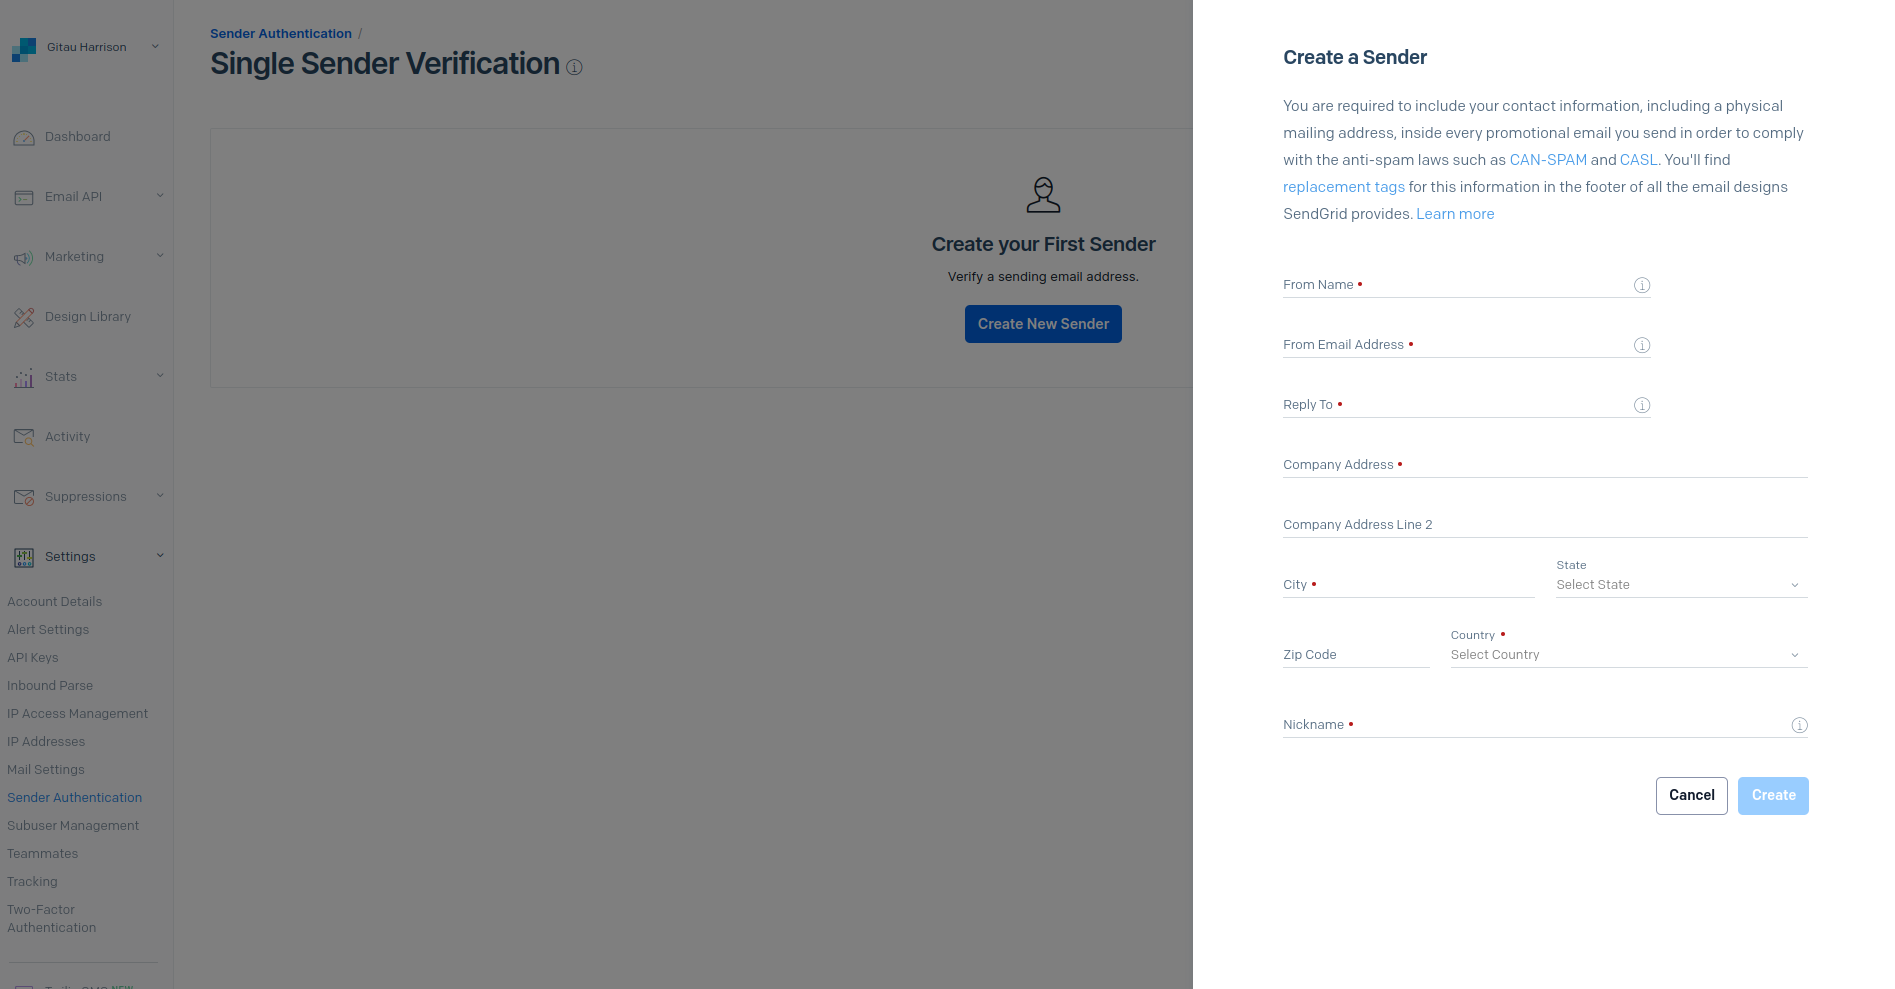
Click "Create" to create your sender. An verification email will be sent to your inbox. Check it out and follow the instructions given. Once verified, you are all set.