


Upload Files To A Database In Your Flask App
It is common to see applications that allow users to add and update their avatars. This, obviously, is not the only way users can upload images to an application. During this article, I will show you how you can allow users to upload images to their accounts. These images will be accessed by quering the database used by the application.
You can browse the source code of the application discussed here on this GitHub repository.
What We Will Do
- Create a simple application
- Allow users to upload images to their accounts
- Display all users and their images in the application
Create a Simple Application
I have already created simple flask application. You can find it in this repository. Working with Flask is fairly simple and straightforward. If you are interested in learning how to create a simple flask application, you can learn here.
Working With Web Forms
Forms allow an application to collect information from a user. The information is then used to create a new object in the database. More often than not, this is a very common feature of web applications.
Flask provides us a simple way to create web forms. To begin, we will first need to install the Flask-WTF package in our virtual environment.
(file_upload) $ pip install flask-wtf
Following the principle of separation of concerns, I will go ahead and create a forms module in our application instance. This module will contain the form classes that we will use to collect information from the user. I will begin by creating an empty forms.py file.
(file_upload) $ touch app/forms.py
SECRET_KEY Token
Flask expects a SECRET_KEY variable to be defined in the app.config file. This is used to generate the csrf_token for the form. The key is necessary to prevent cross-site request forgery. I will create a SECRET_KEY variable in the app.config file.
config.py: Add secret key
import os


class Config(object):
    # Form
    SECRET_KEY = os.environ.get('SECRET_KEY') or 'you-will-never-guess'
The SECRET_KEY variable is first sourced from an environment variable. If the environment variable is not defined, then the SECRET_KEY is set to you-will-never-guess. This is a fallback value to ensure that our application does not crash.
As the name suggests, the value of this variable is secret. When committing the application to version control, you should not commit the SECRET_KEY value. The .env file is normally used to store sensitive information such as keys and passwords. This file should be created in the top-level directory.
(file_upload) $ touch .env
Update the .env file with the following information:
SECRET_KEY=b'\x97]\xe8\x86\xc6"\xc2\xc9\xea<\\+ \x04~@'
The value of the SECRET_KEY variable should be as difficult to guess as possible. I was able to generate this value using the following command in the terminal:
(file_upload)$ python3 -c 'import os; print(os.urandom(16))'
The application has no idea about this configuration, so we need to tell it by creating an instance the class Config.
__init__.py: Register secret key
from flask import Flask
from flask_bootstrap import Bootstrap
from config import Config

app = Flask(__name__)
app.config.from_object(Config)

boostrap = Bootstrap(app)

from app import routes, errors
Define Form
With all the necessary web forms configuration set, I will then create a UserForm class in the forms module. It will define all the fields that we will need in our form.
forms.py: User form
from flask_wtf import FlaskForm
from wtforms import StringField, SubmitField, TextAreaField
from wtforms.validators import DataRequired, Length, Email
from flask_wtf.file import FileField, FileAllowed, FileRequired


class UserForm(FlaskForm):
    username = StringField('Username', validators=[DataRequired(), Length(min=2, max=20)])
    email = StringField('Email', validators=[DataRequired(), Email()])
    about_me = TextAreaField('About Me', validators=[DataRequired()])
    avatar = FileField('Avatar', validators=[FileRequired(), FileAllowed(['jpg', 'png'], 'Images only!')])
    submit = SubmitField('Update')
The most crucial field in the form is the avatar field. This field is defined using the FileField class. This field will allow a user to upload an image. The FileAllowed validator will ensure that the file uploaded is an image. If any other file type is uploaded, the form will refuse to accept that data and display the message "Images only!".
Display Form
Our index.html file will be used to display the form I have defined above. At the moment, this application makes use of flask-bootstrap. I will use this package to quickly display a rather nice looking form.
index.html: Display Form
{% extends 'base.html' %}
{% import 'bootstrap/wtf.html' as wtf %}

{% block app_context %}
    <div class="row">
        <div class="col-md-12">
            <h1> {{ title }} </h1>
    </div>
    <div class="row">
        <div class="col-md-6">
            {{ wtf.quick_form(form) }}
        </div>
    </div>
    <hr>
    <div class="row">
        <div class="col-sm-12">
            <table class="table table-striped">
                <thead>
                    <tr>
                        <th>ID</th>
                        <th>Username</th>
                        <th>Email</th>
                        <th>About Me</th>
                        <th>Avatar</th>
                    </tr>
                </thead>
                <tbody>
                     <tr>
                        <td>#</td>
                        <td>#</td>
                        <td>#</td>
                        <td>#</td>
                        <td>#</td>
                    </tr>
                </tbody>
            </table>
        </div>
    </div>
{% endblock %}
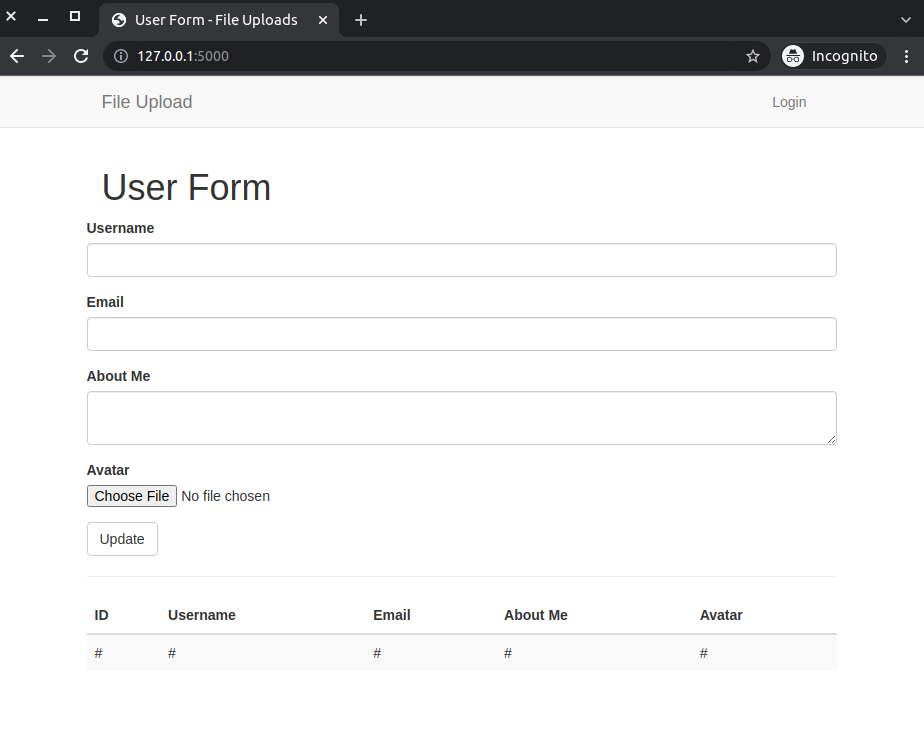
I will want to show all the users in the database in a table. Later on, the body section of the table will be populated with the data from the database. Meanwhile, I have used # as a placeholder for the data.
The form variable in wtf.quick_form() will be defined in the view function that will render this page.
Render Form
I will make use of the existing index() view function to render the form.
routes.py: Render Form
from app import app
from flask import render_template
from app.forms import UserForm


@app.route('/', methods=['GET', 'POST'])
@app.route('/index', methods=['GET', 'POST'])
def index():
    form = UserForm()
    return render_template(
            'index.html',
            form=form,
            title='User Form')
You should be able to see this:
Working With a Database
If you try to use the form and click 'Update', you will notice that there is nothing happening. It will be nice that the form sends the user data to a database which will then allow us to retrieve whatever we want. To do so, we will create a models module in our application instance. This module will contain the User model.
(file_upload) $ touch app/models.py
Once more, we will install another application to allow us work with databases. This is the beauty of Flask in that it is not opinionated about what should be used. Instead, it allows, and actually encourages, you to use whatever you want.
flask-sqlalchemy is one such package that I will make use of. It is an Object Relational Mapper (ORM) that allows us to work with databases. Instead of working with raw SQL commands, it allows us to work with high-level classes and methods that are mapped and translated to SQL commands. I will install it in my virtual environment.
(file_upload)$ pip3 install flask-sqlalchemy
Once we have created a User model, we need to generate a migration script and apply those changes. This is not done automatically when the model is created. I will have to do this every time I make any change to the User model. Flask provides the flask-migrate package to do this. I will also install it in my virtual environment.
(file_upload)$ pip3 install flask-migrate
Database Configuration
Flask expects certain configuration variables to be set in the application instance.The variables will be used to access our database. I will add two variables to the config module.
config.py: Set database configurations
import os

basedir = os.path.abspath(os.path.dirname(__file__)) # < --- update


class Config(object):
    # ...

    # Database
    SQLALCHEMY_DATABASE_URI = os.environ.get('DATABASE_URL') or \
        'sqlite:///' + os.path.join(basedir, 'app.db')
    SQLALCHEMY_TRACK_MODIFICATIONS = False
We first begin by storing the database in our top level directory. We will then use the DATABASE_URL environment variable to connect to the database. If the variable is not set, we will use the sqlite database on the computer's disk and call it app.db.
We do not want the application to keep notifying me of any change that has happened to the database. Setting the SQLALCHEMY_TRACK_MODIFICATIONS variable to False solves this.
Register the Packages in the Application Instance
We need to create instances of flask-sqlalchemy and flask-migrate in our application instance.
__init__.py: Register the Packages
# ...
from flask_sqlalchemy import SQLAlchemy
from flask_migrate import Migrate

# ...
db = SQLAlchemy(app)
migrate = Migrate(app, db)

from app import routes, errors, models # < --- update
Create User Model
Our form collects a user's username, email, about me and an avatar. Therefore, our User model should have columns that correspond to these fields.
models.py: User model
from app import db


class User(db.Model):
    id = db.Column(db.Integer, primary_key=True)
    username = db.Column(db.String(64), index=True, unique=True)
    email = db.Column(db.String(120), index=True, unique=True)
    about_me = db.Column(db.String(140))
    avatar = db.Column(db.String(140))
Something of interest is the fact that the avatar column is a string. This is because we will be storing the path to the image in the database. This path will be a string. Typically, images and other files such as .mp4 and .mp3 are normally stored in binary format.
It is still possible to store the actual file in the database. This will mean that the avatar column will be defined as avatar = db.Column(LargeBinary()). Things to consider when storing files in the database are:
- The file size
- The security of the file
- The cost of storing the file in the database
Typical production databases cost money. As your database grows, you will need to pay for the storage and the cost of storing the file in the database. If the file in the avatar column is too large, it means that you will incure higher costs. On the other hand, a user can deliberately upload a large file. This file may end up crashing our application, so it is very necessary to enure that the file size is set to a standard. Finally, an attacker can maliciously upload an executable file which will trick our application to believe that it is actually a genuine program file. In such an event, you will want to protect your application against such attacks by sanitizing the file names.
Before I implement any of these concerns when storing files in the database, I will create and update the User model. Run the commands below in the terminal:
(file_upload)$ flask db init
This creates a migrations repository in the top level directory of the project. The SQLite database, which I have resorted to using here, will be stored in the computer's disk. Every change and every update to the database will be applied to this disk-based file. These files and the migrations folder need to be commited to version control since they will now be part of the applcation.
To create a migration script, run the following command:
(file_upload)$ flask db migrate -m "user table"

# Output
INFO  [alembic.runtime.migration] Context impl SQLiteImpl.
INFO  [alembic.runtime.migration] Will assume non-transactional DDL.
INFO  [alembic.autogenerate.compare] Detected added table 'user'
INFO  [alembic.autogenerate.compare] Detected added index 'ix_user_email' on '['email']'
INFO  [alembic.autogenerate.compare] Detected added index 'ix_user_username' on '['username']'
    Generating /home/harry/software_development/python/current_projects/db_file_upload/migrations/versi
    ons/e7a88735908f_user_table.py ...  done
Notice that a new file called xxx-user-table.py has been created in the versions sub-directory of the migrations folder. This file contains the SQL commands that will be executed when the migration is applied.
Finally, to apply those changes, we need to run flask db upgrade.
(file_upload)$ flask db upgrade

# Output
INFO  [alembic.runtime.migration] Context impl SQLiteImpl.
INFO  [alembic.runtime.migration] Will assume non-transactional DDL.
INFO  [alembic.runtime.migration] Running upgrade  -> e7a88735908f, user table
The changes we have made to our User model are now applied to the database. Notice that there is app.db file created in the top-level directory of the project. This file contains the database.
Update the Database
Now that the database is created, I need to update it using the user form found in the home page of the application. The changes to be made will be done on the index() view function to validate and store the user's information.
I want all files that will be uploaded through the form to be saved in app/static/uploads folder. Since uploads sub-folder is not created by default, I will create it.
(file_upload)$ mkdir static/uploads
I will then save this path as a configuration in my config module.
config.py: Upload path configuration
class Config(object):
    # ...

    # File Upload
    UPLOAD_PATH = os.environ.get('UPLOAD_PATH')
Once again, I am sourcing the value of the UPLOAD_PATH from an environment variable. I, therefore, need to update the .env file to include the UPLOAD_PATH variable.
.env: Upload path value
# ...
UPLOAD_PATH='app/static/uploads'
Now, I need to create a user object in the index() view function which will accept the data available in the user form.
routes.py: Update user model
@app.route('/', methods=['GET', 'POST'])
@app.route('/index', methods=['GET', 'POST'])
def index():
    form = UserForm()
    if form.validate_on_submit():

        # User object
        user = User(
            username=form.username.data,
            email=form.email.data,
            about_me=form.about_me.data)

        # Handling file upload
        uploaded_file = form.avatar.data
        filename = secure_filename(uploaded_file.filename)
        avatar_path = os.path.join(app.config['UPLOAD_PATH'], filename)
        uploaded_file.save(avatar_path)
        user.avatar = avatar_path
        path_list = user.avatar.split('/')[1:]
        new_path = '/'.join(path_list)

        # Update the database
        user.avatar = new_path
        db.session.add(user)
        db.session.commit()

        # UX
        flash('Your changes have been saved.')

        return redirect(url_for('index'))
    return render_template(
            'index.html',
            form=form,
            title='User Form')
That is a lot going on. I will help break it down for you so you can follow through. First, the user object accepts the data available in the username, email and about me fields in the form.
The second step is to upload a user's file.
- The data available in the
avatarfield of the form is stored in a variable I have calleduploaded_file. - The
secure_filename()function is used to sanitize the file name. This ensures that regardless of whatever name a user has called this file, it is reduced to a flat name.secure_filenamecomes fromwerkzeug.utils. - I then create a path to the uploaded file using the
os.path.join()function. This function joins the path to theUPLOAD_PATHand the sanitized file name. - The
uploaded_file.save()function is used to save the uploaded file to the path created in the previous step. - The
user.avatarattribute is then updated to the new path. - The
path_listvariable is used to split the path to the uploaded file. This is done to remove theapp/part of the path. To check the path, add aprintstatement to the end of the code. It was necessary for me to implement this logic because theindex.htmltemplate could not locate the file using theapp/static/uploadspath. - The
new_pathvariable is used to create a new path to the uploaded file. This new path will be in the formatstatic/uploads/<image file>. This is done by joining thepath_listvariable with a/character. - The
user.avatarattribute is then updated to the new path. See the new path by adding anotherprintstatement to the end of the code.
The last step is to update the database.
- The
userobject is then added to the database. - The
db.session.commit()function is used to commit the changes to the database. - The
flash()function is used to display a message to the user to notify them that the upload process was successful. - The
redirect()function is used to redirect the user to the home page after the database update.
Display All Users
I will use a simple table to neatly display all users. This is achieved by using a for loop to iterate through the User model. To begin, I find all the users in the database using the User.query.all() function in the index view function.
routes.py: Display all users
def index():
    users = User.query.all() # < --- update
    # ...
    return render_template(
           'index.html',
           form=form,
           title='User Form',
           users=users) # < --- update
I will use this variable to iterate through the users in the database. Let us create a table in index.html to display the users.
index.html: Display all users
{% extends 'base.html' %}
{% import 'bootstrap/wtf.html' as wtf %}

{% block app_context %}
    <!−− previous code −−>
    <div class="row">
        <div class="col-sm-12">
            <table class="table table-striped">
                <thead>
                    <tr>
                        <th>ID</th>
                        <th>Username</th>
                        <th>Email</th>
                        <th>About Me</th>
                        <th>Avatar</th>
                    </tr>
                </thead>
                <tbody>
                    {% for user in users %}
                        <tr>
                            <td>{{ user.id }}</td>
                            <td>{{ user.username }}</td>
                            <td>{{ user.email }}</td>
                            <td>{{ user.about_me }}</td>
                            <td><img src="{{ user.avatar }}"></td>
                        </tr>
                    {% endfor %}
                </tbody>
            </table>
        </div>
    </div>
{% endblock %}
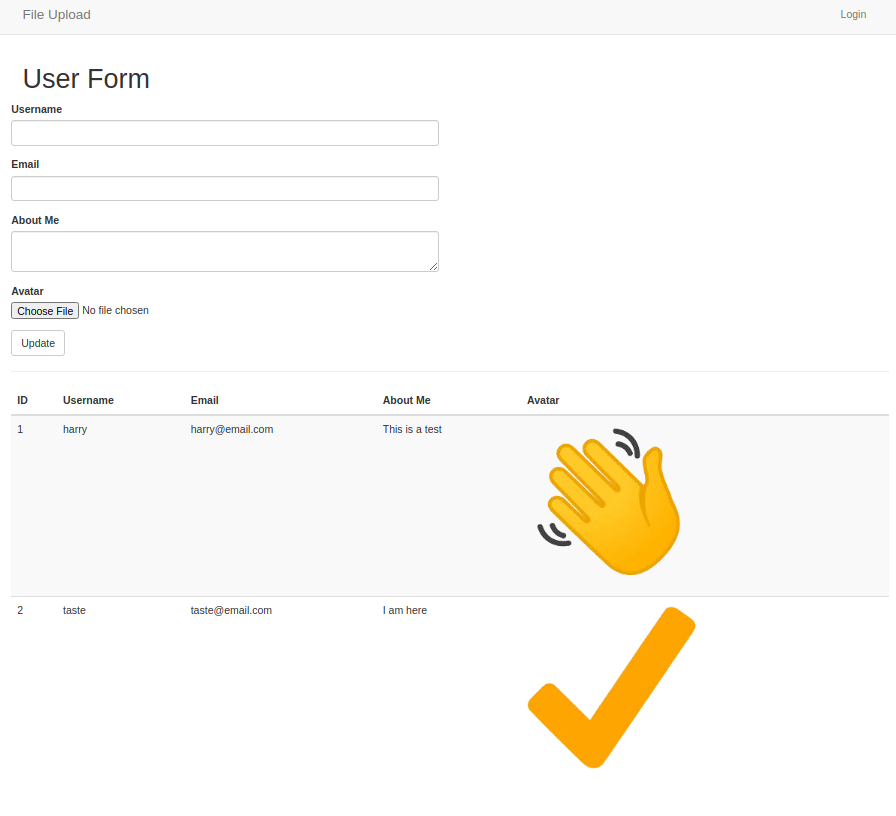
During each iteration, I intentionally retrieve each user's information using the user.<column> syntax. Since the last column is an image, I will use the user.avatar attribute to retrieve the image path and add it to an img tag.
Navigate to the URL http://127.0.0.1:5000/ and try adding multiple users. You should be able to see all the users you have added being displayed at the bottom of the user form.
Share
If you enjoyed this article, you can share it with another person.
TweetNewsletter Subcription
Level up your skills.
We take your privacy seriously. Read our privacy policy. Unsubscribe | Resubscribe.Comments (1)

|
#1
Tanya
said :
|
good post