


Download And Encrypt PDFs In Flask
With a software application capable of storing user data in a database, a user may want to download a copy of their data. Partly inspired by the MPesa technology, you will learn how to download an encrypted copy of the database data.
Background Story
M-Pesa is a mobile phone-based money transfer service, payments, and micro-financing service, launched in 2007 by Vodafone and Safaricom, the largest mobile network operator in Kenya.
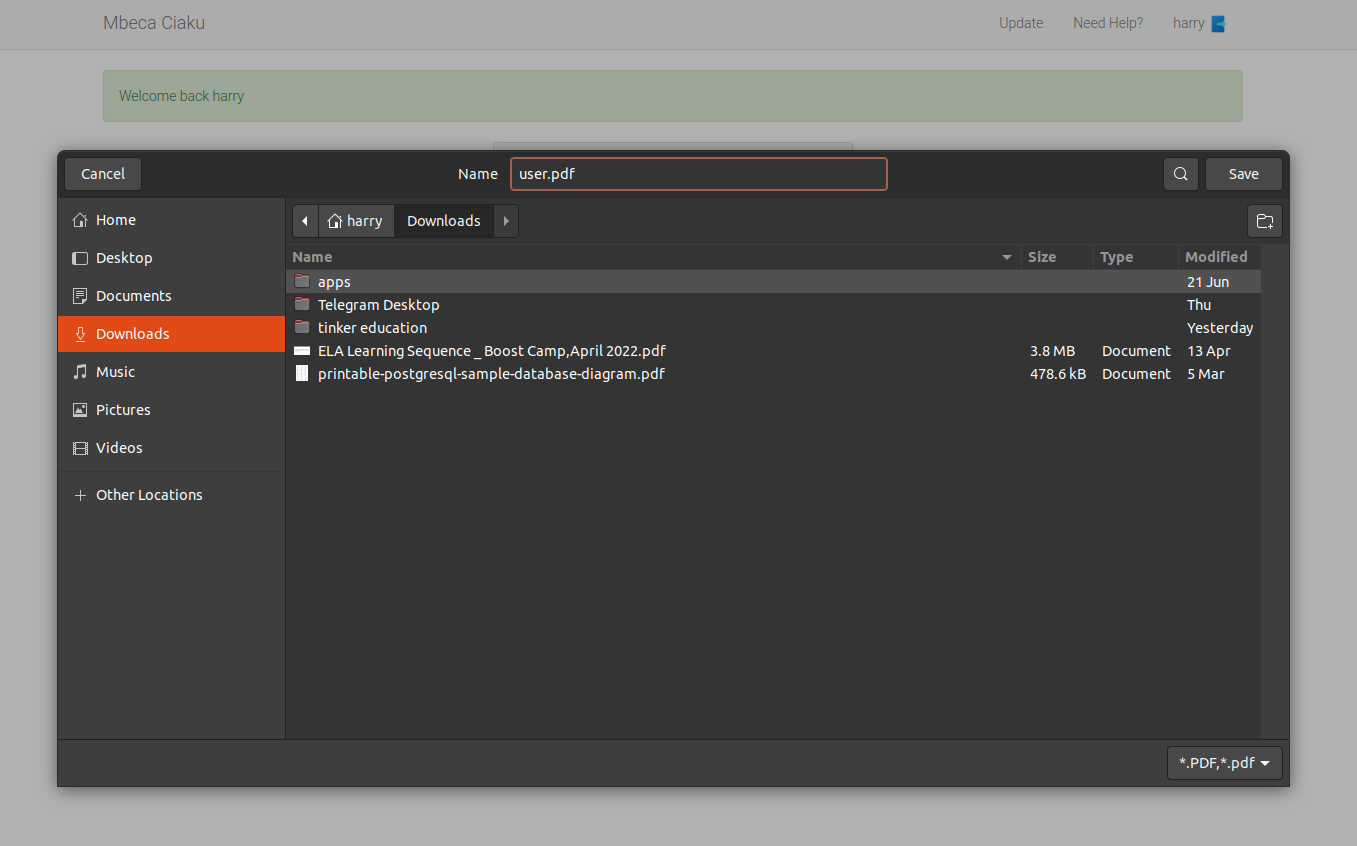
Safaricom allows its MPesa users to send and receive money from Safaricom and other mobile network users in Kenya. One feature that all MPesa, just like banks, users enjoy, is the provision of a transactions statement. An Mpesa user can request a copy of their transactions statement from the Safaricom MPesa app. On the web, a user can download a copy whereas, on mobile, the user will receive a copy of the statement via email. See the image below.
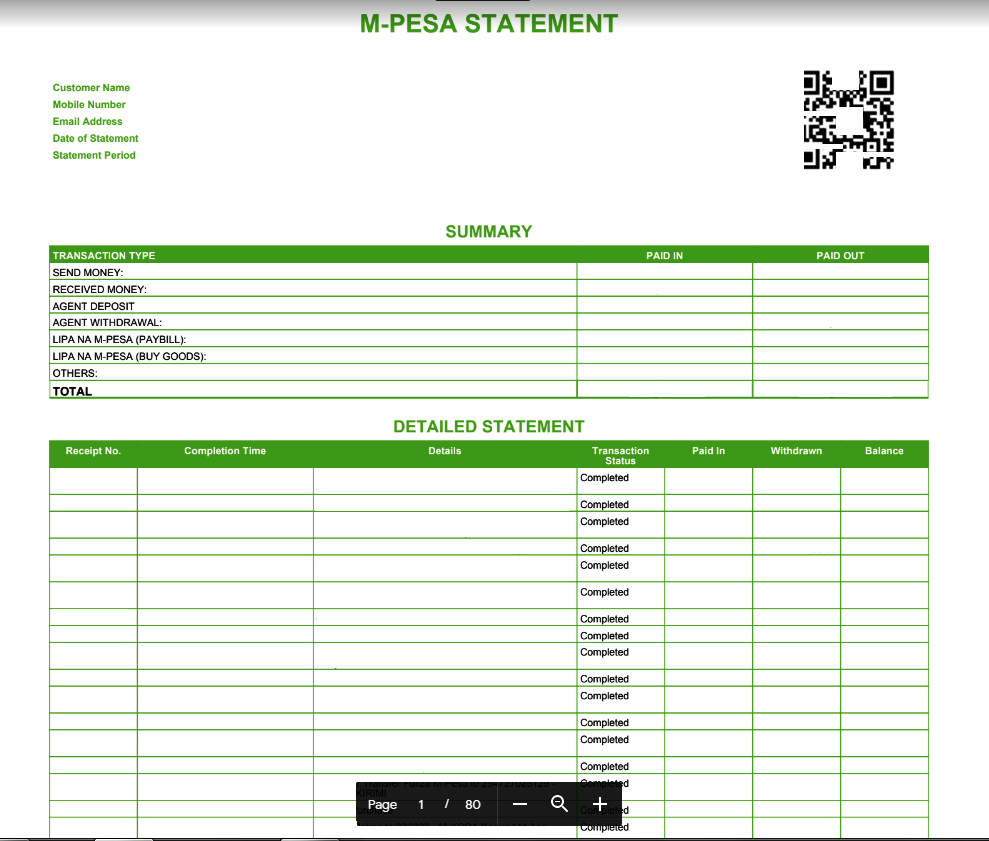
Before a user can open the document, MPesa requires that they identify themselves, usually by providing their national identification number. This is an attempt to curb the rampant MPesa fraud. As of this writing, Safaricom not only requires a user to provide their national ID number, but also a one-time token sent to their phones in the format ID-token.
This tutorial does not intend to reproduce a clone of the MPesa statement, but rather to show how to download an encrypted copy of the data found in a database. You will learn how to collect users' data, store it in the database, and then download an encrypted copy of that data.
Things We Will Do
- Create a simple flask application
- Add a database table to store user data
- Create fake users and store them in the database
- Display a tabular list of all fake users
- Download a copy of the database data
- Encrypt the PDF copy
The completed project used to demonstrate the above steps is available here on GitHub.
Create a simple flask application
The assumption here is that you at least understand the basic concepts of HTML and Flask. I will not be going through every detail of setting up a simple flask application. To begin, we can utilize a minimalist flask structure such as this:
project
   | --- main.py
   | --- config.py
   | --- .gitignore
   | --- app/
          | --- __init__.py
          | --- routes.py
          | --- models.py
          | templates
              | --- base.html
              | --- index.html
We will need the flask-bootstrap package to quickly style our application across all viewports. Notice how I instantiate bootstrap in the __init__.py file.
app/__init__.py: Instantiate packages
from flask import Flask
from flask_bootstrap import Bootstrap

app = Flask(__name__)
Bootstrap(app)

from app import routes, models
The base.html template will hold the reusable structure we will need throughout the application. The index.html template inherits the base.html template and will be used to display all the users' data. You can refer to the shared repository for more information.
Add a database table to store user data
Intentionally, I will use the SQLite database engine. The first thing to do when creating a schema for a database is to figure out what data you want to store. In this case, I will store the user's name, email, age, address, and phone number.
Needed Packages
flask-sqlalchemy is a fantastic Object Relational Mapping (ORM) package that will allow us to interact with the database. It uses high-level classes, objects, and methods to map rows and columns found in a database. It is a wrapper around the SQLAlchemy library.
We will need to install it in our virtual environment. A virtual environment helps to isolate the needs of one project from the needs of another.
(venv)$ pip3 install flask-sqlalchemy
Once the schema is developed, we will need to create a database by applying the necessary migrations. Since this is the first time we are creating our database, only one migration will be made. If we want to add more fields to the schema, we will be required to update the schema and apply the new changes. flask-migrate is another useful package we can utilize to create database migrations.
(venv)$ pip3 install flask-migrate
Instantiate the database
Both these packages will need to be instantiated in the __init__.py file.
app/__init__.py: Instantiate packages
# ...
from flask_sqlalchemy import SQLAlchemy
from flask_migrate import Migrate

# ...


db = SQLAlchemy(app)
migrate = Migrate(app, db)


# ...
Define the database schema
At this point, we can define our database schema.
app/models.py: Create database schema
from app import db


class User(db.Model):
    id = db.Column(db.Integer, primary_key=True)
    name = db.Column(db.String(64), index=True)
    age = db.Column(db.Integer, index=True)
    address = db.Column(db.String(256))
    phone = db.Column(db.String(20))
    email = db.Column(db.String(120), index=True)

    def __repr__(self):
        return f'User {self.name}'
The built-in function __repr__ is used to display the object when we print it. This is useful for debugging purposes. In a flask shell, which runs the Python interpreter in the context of the application, you can run the following command to see the output:
(venv)$ flask shell


>>> user = User(name='John Doe', age=30, address='123 Main St', phone='555-555-5555', email='johndoe@email.com')
>>> db.session.add(user)
>>> db.session.commit()
>>> user

# Output

User: John Doe
Configure the database
To complete the setup of our database, we need to set some configurations which Flask expects. Most importantly, we need to configure the database URI. Following the principle of separation of concerns, we will need to configure the database URI in the config.py file.
config.py: Database configurations
import os


basedir = os.path.abspath(os.path.dirname(__file__))


class Config(object):
    SQLALCHEMY_DATABASE_URI = os.environ.get('DATABASE_URL') or \
        'sqlite:///' + os.path.join(basedir, 'app.db')
    SQLALCHEMY_TRACK_MODIFICATIONS = False
DATABASE_URL is a variable whose value is set in the .env file. Should this value not be set, we will use a disk-based database appropriately called app.db. This fallback plan ensures that should one option fail, then the other should work. As soon as we run our migrations, shown below, you will notice that this file will be created and located in the top-level directory of the project.
Flask expects these configurations to be registered in the application's instance. We can do this by instantiating the Config class in the __init__.py file.
app/__init__.py: Add configurations
# ...
from config import Config


app = Flask(__name__)
app.config.from_object(Config)

# ...
Run database migrations
Run the commands below to create the database and migrate the schema:
(venv)$ flask db init
(venv)$ flask db migrate -m "user table"
(venv)$ flask db upgrade
You will see a migrations folder created in the application's root directory. Inside the folder, there is a subfolder called versions which contains the migration files. At this point, the migration version of the database currently available will be xxxx_user_table.py.
Create fake users and store them in the database
The application will need a lot of users, in the hundreds or even thousands. It will be cumbersome to manually add this number of users to the database one at a time. We will use the faker package to generate a large number of fake users. These users will automatically be added to the database. Begin by installing the faker package.
(venv)$ pip3 install faker
The logic used to create the fake users will be in a separate file. This module will be imported into the app/routes.py file to display a tabular list of all fake users. First, let us create this module:
(venv)$ touch app/create_fake_users.py
Using the faker package to generate fake user data, we can now update the module.
app/create_fake_users.py: Create fake users
from faker import Faker
from app import db
from random import randint
from app.models import User


def fake_users(n):
    fake = Faker()
    for i in range(n):
        user = User(
            name=fake.name(),
            age=randint(18, 65),
            address=fake.address(),
            phone=fake.phone_number(),
            email=fake.email())
        db.session.add(user)
    db.session.commit()
The fake_users function will create an n number of fake users. During each iteration, we create and add a new user object to the database. If you are interested in quickly testing out the fake_users function, consider updating the module above with this:
# ...
import sys


def fake_users(n):
    # ...


if __name__ == '__main__':
    if len(sys.args) <= 1:
        print('Usage: python create_fake_users.py <number of users>')
        sys.exit(1)
    else:
        n = int(sys.args[1])
        fake_users(n)
        print(f'Created {n} fake users')
Then in your terminal, run the following command:
(venv)$ python3 create_fake_users.py 100
Here, you will create 100 fake users. The number of arguments in the command line is 2 because the first argument is the name of the script and the second argument is the number of users to create. This validates the else block in the if statement.
Display a tabular list of all fake users
The template index.html will be used to display all the fake users. This template will also include a link to download the list of fake users as a PDF file.
Notice how the table is styled. It has an impressive user interface with a search bar, it is paginated, and its content can be sorted by clicking on the column headers.
Render the template
Before we create this template, let us first create a view function that will render it.
app/routes.py: Render the index page
from app import app
from app.create_fake_users import fake_users
from app.models import User


def limit_num_fake_users():
    users = User.query.count()
    if users > 1000:
        db_users = User.query.limit(1000)
    else:
        fake_users(100)
        flash('Created 100 fake users')
    return db_users


@app.route('/')
@app.route('/index')
def index():
    all_users = limit_num_fake_users()
    return render_template('index.html', all_users=all_users)
I have implemented here a little constraint logic to limit the total number of fake users that can be stored in the database to only 1000. This is to prevent the database from becoming too large, especially during hosting. The function limit_num_fake_users() is called in the index view function each time the resource is requested.
Display template data
At this point, we are ready to render the index.html template. If you are curious as to how the table looks like that, I would like to introduce you to Grid.js. It is a JavaScript table plugin that allows you to display a table in a grid-like fashion. To use it, all you need to do is to include its JavaScript and CSS files in your template.
app/templates/base.html: Add Grid.js
{% block head %}
    {{ super() }}
    <link href="https://unpkg.com/gridjs/dist/theme/mermaid.min.css" rel="stylesheet" />
{% endblock %}

{% block scripts %}
    {{ super() }}
    <script src="https://unpkg.com/gridjs/dist/grid.min.js"></script>
    {% block gridjs_scripts %}{% endblock %}
{% endblock %}
The reason I have chosen to add these files in the base.html template is that I want all Grid.js JavaScript and CSS files to be inherited by the index.html template (which currently is the only child template). The gridjs_scripts block will be used only in the index.html template.
app/templates/index.html: Define user table
{% extends 'base.html' %}

{% block app_content %}
<div class="row">
    <div class="col-md-12">
      <h1 class="text-center">{{ title }}</h1>
        <div id="table"></div>
        <p>
            Want to download a PDF of the users?
            <a href=" {{ url_for('download_users') }} ">Click here</a>
        </p>
    </div>
</div>
{% endblock %}

{% block gridjs_scripts %}
<script>
    new gridjs.Grid({
      columns: [
        { id: 'name', name: 'Name' },
        { id: 'age', name: 'Age' },
        { id: 'address', name: 'Address', sort: false },
        { id: 'phone', name: 'Phone Number', sort: false },
        { id: 'email', name: 'Email' },
      ],
      data: [
        {% for user in fake_users %}
          {
            name: '{{ user.name }}',
            age: {{ user.age }},
            address: '{{ user.address }}',
            phone: '{{ user.phone }}',
            email: '{{ user.email }}'
          },
        {% endfor %}
      ],
      search: true,
      sort: true,
      pagination: true,
    }).render(document.getElementById('table'));
  </script>
{% endblock %}
So, what exactly is going on here? To use Grid.js, all we need to do is pass an id selector to an element we want to display in our table. In this case, it is the div element. Typically, we would have to define a parent table element with all its tr and td elements. However, Grid.js takes care of that for us.
We begin by initializing a Grid object. This object has a columns option as well as a data option. Each column has an id and a name. The id is the identifier of the column and the name is the name that appears in the column header. The data option is an array of objects that will be used to populate the table. Each value in the data array is configured to use a key matching the id of the column.
There are a handful more options that can be used to customize the table. I have used the search option to enable a search bar. The sort option is used to enable sorting by clicking on the column header. The pagination option is used to enable pagination where you can see the buttons at the bottom right of the table.
Finally, we render the table using the render method. This method takes a selector as an argument. The selector is the id of the element where the table will be displayed.
The table I am displaying here is a very basic table, useful when table data is minimal. However, if you would like to work with large amounts of data, this table is not the best choice. Users spanning in the hundreds of thousands and even millions will cause a considerable lag between the time the resource is requested and the time it is finally displayed. If you would like to learn more on how to create the best user experiences when working with varying amounts of data in a table, check out the interactive flask tables with Grid.js tutorial.
Download a copy of the database data
The view function download_users as seen in index.html will download a copy of the database data.
app/routes.py: Download the database data
# ...
from app.download_users_pdf import download_users_data


# ...


@app.route('/download-users-pdf')
def download_users():
    download_users_data()
    return redirect(url_for('index'))
download_users_data() function will be called every time the download link on the home page is clicked. This function is found in a new module called download_users_pdf.py. Once again, I have separated the logic used to handle the download of the database data from the rest of the application in a bid to improve scalability should the application grow. Ensure that you create this module within the app directory.
(venv)$ touch app/download_users_pdf.py
Understanding fpdf
We will utilize the fpdf package to create a PDF file. To understand how it works, let us look at this minimal example:
from fpdf import FPDF

pdf = FPDF()
pdf.add_page()
pdf.set_font('Arial', 'B', 16)
pdf.cell(40, 10, 'Hello World!')
pdf.output('hello.pdf', 'F')
You need to make sure that you have installed the package in your virtual environment.
(venv)$ pip3 install fpdf
We begin by creating a pdf object from the fpdf package. We then add a page to the document using pdf.add_page(). Whatever we are going to write will go to a blank page, and therefore, it makes sense to first create a canvas. If the page is already present, this method will call the footer method to output the footer, usually a page number. Content will be displayed from the top left margin before the header method is called.
The set_font() method begins by defining the font type we would like to use, and the font size. The B indicates that we would like to use a bold font. If you prefer not to use bold or italics, you can leave this option blank.
Contents are normally printed in rectangular boxes called cells. The cell() method takes three arguments: the width of the cell, the height of the cell, and the text to be displayed. If you would like a border around a cell, you can optionally add "1" to the end of the arguments.
The document is finally closed using the output() method. This method takes two arguments: the name of the file to be created, and the destination. The destination can be either F for a file or S for a string.
Creating a PDF file
Now what we know how to utilize fpdf to create a PDF file, let us update our download_users_data() function.
app/download_users_pdf.py: Create a PDF
from fpdf import FPDF
from app.models import User

users = User.query.all()

def download_users_data():
    PDF()


class PDF(FPDF):
    def header(self):
        # Logo
        self.image('app/static/images/logo.jpg', 180, 8, 12)
        self.set_font('Arial', 'B', 15)
        # Move to the right
        self.cell(80)
        # Title
        self.cell(50, 10, 'Fake Users Demo', 1, 0, 'C')
        # Line break
        self.ln(20)

    def footer(self):
        # Position at 1.5 cm from bottom
        self.set_y(-15)
        # Arial italic 8
        self.set_font('Arial', '', 8)
        self.set_text_color(128)
        # Page number
        self.cell(0, 10, 'Page ' + str(self.page_no()) + '/{nb}', 0, 0, 'C')

    def table(self):
        # Colors, line width and bold font
        self.set_font('Arial', 'B', 16)
        self.set_fill_color(255, 0, 0)
        self.set_text_color(255)
        self.set_draw_color(128, 0, 0)
        self.set_line_width(.3)
        self.set_font('', 'B')
        # Header
        self.cell(25, 10, 'Name', 1, 0, 'C', 1)
        self.cell(10, 10, 'Age', 1, 0, 'C', 1)
        self.cell(75, 10, 'Address', 1, 0, 'C', 1)
        self.cell(40, 10, 'Phone', 1, 0, 'C', 1)
        self.cell(45, 10, 'Email', 1, 0, 'C', 1)
        self.ln()
        # Data
        self.set_text_color(0)
        self.set_font('Arial', '', 8)
        for user in users:
            self.cell(25, 10, user.name, 1, 0, 'C')
            self.cell(10, 10, str(user.age), 1, 0, 'C')
            self.cell(75, 10, user.address, 1, 0, 'C')
            self.cell(40, 10, user.phone, 1, 0, 'C')
            self.cell(45, 10, user.email, 1, 1, 'C')
        # Closing line
        self.cell(0, 10, '', 0, 1)

    def __init__(self):
        super().__init__(format='A4')
        self.alias_nb_pages()
        self.add_page()
        self.set_font('Arial', '', 12)
        self.table()
        self.output('app/static/files/users.pdf', 'F')
I think everything is self-explanatory. Notice how the output file is created in the app/static/files directory. Since PDF is a class, I have used the method download_users_data() to call it and create the PDF file. This is the method passed to the download_users() view function in the routes module.
Encrypt the PDF copy
Encryption is a way to protect the PDF file from being read by anyone. Do not be frightened by the word. It is easy to encrypt a pdf. The last package we are going to use is the PyPDF2.
(venv)$ pip3 install PyPDF2
After a successful installation, we need to create an encrypted_pdf.py file to define the logic for the encryption.
(venv)$ touch app/encrypted_pdf.py
We can then update this module as follows:
app/encrypted_pdf.py: Encryption logic
from PyPDF2 import PdfFileWriter, PdfFileReader


def encrypt_pdf(input_pdf, password):
    pdf_writer = PdfFileWriter()
    pdf_reader = PdfFileReader(input_pdf)

    for page in range(pdf_reader.numPages):
        pdf_writer.addPage(pdf_reader.getPage(page))

    pdf_writer.encrypt(password, use_128bit=True)

    with open(input_pdf, 'wb') as f:
        pdf_writer.write(f)

    f.close()
encrypt_pdf() takes in two arguments: the name of the input PDF file, and the password to be used for encryption. It then opens a file reader and writer and loops through the pages of the input PDF. Adding each page to the writer, it encrypts the PDF using the password. Finally, it closes the file reader and writer.
This encryption function will then be called in the download_users() view function to immediately password-protect the just downloaded file.
app/routes.py: Call the encryption function
 ...
from app.encrypted_pdf import encrypt_pdf


@app.route('/download_users')
def download_users():
    download_users_data()
    encrypt_pdf(
        input_pdf='app/static/files/users.pdf',
        password='password')
    return redirect(url_for('index'))
I am passing in the password as a simple string. In a production environment, you would want to store the password more securely or use other user identification methods such as their phone number.
Going Further
Notice that the downloaded file is saved in the app/static/files directory. Over time, this directory will grow to contain a lot of files. This will quickly create a storage problem, especially if you are using a cloud storage service. A better solution would be to save the file in a user's local computer storage.
Understanding the send_file() function
Flask provides a way to do this. The send_file() function is used to send a file to the browser. From the flask documentation, we can see that the send_file() function primarily sends the contents of a file to a client.
flask.send_file(path_or_file, mimetype=None, as_attachment=False, download_name=None, attachment_filename=None, conditional=True, etag=True, add_etags=None, last_modified=None, max_age=None, cache_timeout=None)
The first argument is preferably a path to a file or a file-like object. This object requires that the file is opened in binary mode, especially when building a file in memory using a BytesIO object. You want to make sure that the file pointer is seeked to the the start of the data. The as_attachment argument is used to specify that the file should be offered for saving instead of displaying it. The attachment_filename argument is used to specify the name of the file that the user will see when they save the file.
Let us look at this simple example here:
@app.route('/download_users')
def download_users():
    download_users_data()
    encrypt_pdf(
        input_pdf='app/static/files/users.pdf',
        password='password')
    return send_file('app/static/files/users.pdf',
                     attachment_filename='users.pdf',
                     as_attachment=True)
The pdf file will be stored in the app/static/files directory as expected. This is important because encrypt_pdf() depends on the availability of the downloaded file as input. The file will also be sent to a user's browser as an attachment. However, what we want is the file to be saved only in the user's local computer storage.
Implementing the send_file() function
Now that we have a solution for the problem of the file being stored in the app/static/files directory, the first thing that comes to mind is to delete the file from the app/static/files directory just before it is sent to the browser.
app/routes.py: Delete the file from the app/static/files directory
# ...
from io import BytesIO
import os


@app.route('/download_users')
def download_users():
    download_users_data()
    encrypt_pdf(
        input_pdf='app/static/files/users.pdf',
        password='password')
    buffer = BytesIO()
    with open('app/static/files/users.pdf', 'rb') as f:
        buffer.write(f.read())
    buffer.seek(0)
    os.remove('app/static/files/users.pdf')
    return send_file('app/static/files/users.pdf',
                     attachment_filename='users.pdf',
                     as_attachment=True)
As soon as the downloaded file is encrypted, I open the file in binary mode and write the contents to a BytesIO object. I then seek to the start of the data. Finally, I delete the file from the app/static/files directory before sending it to the browser.
Share
If you enjoyed this article, you can share it with another person.
TweetNewsletter Subcription
Level up your skills.
We take your privacy seriously. Read our privacy policy. Unsubscribe | Resubscribe.